I cut a 2 inch hole in the muffler end cap that was cut off (2 1/8" would probably work too). Center the hole between the threaded bosses.


This was a $5 piece of tail pipe from an auto store that fits over a 2" OD tube and tapers back down to 2" OD. I cut it to size with the band saw.

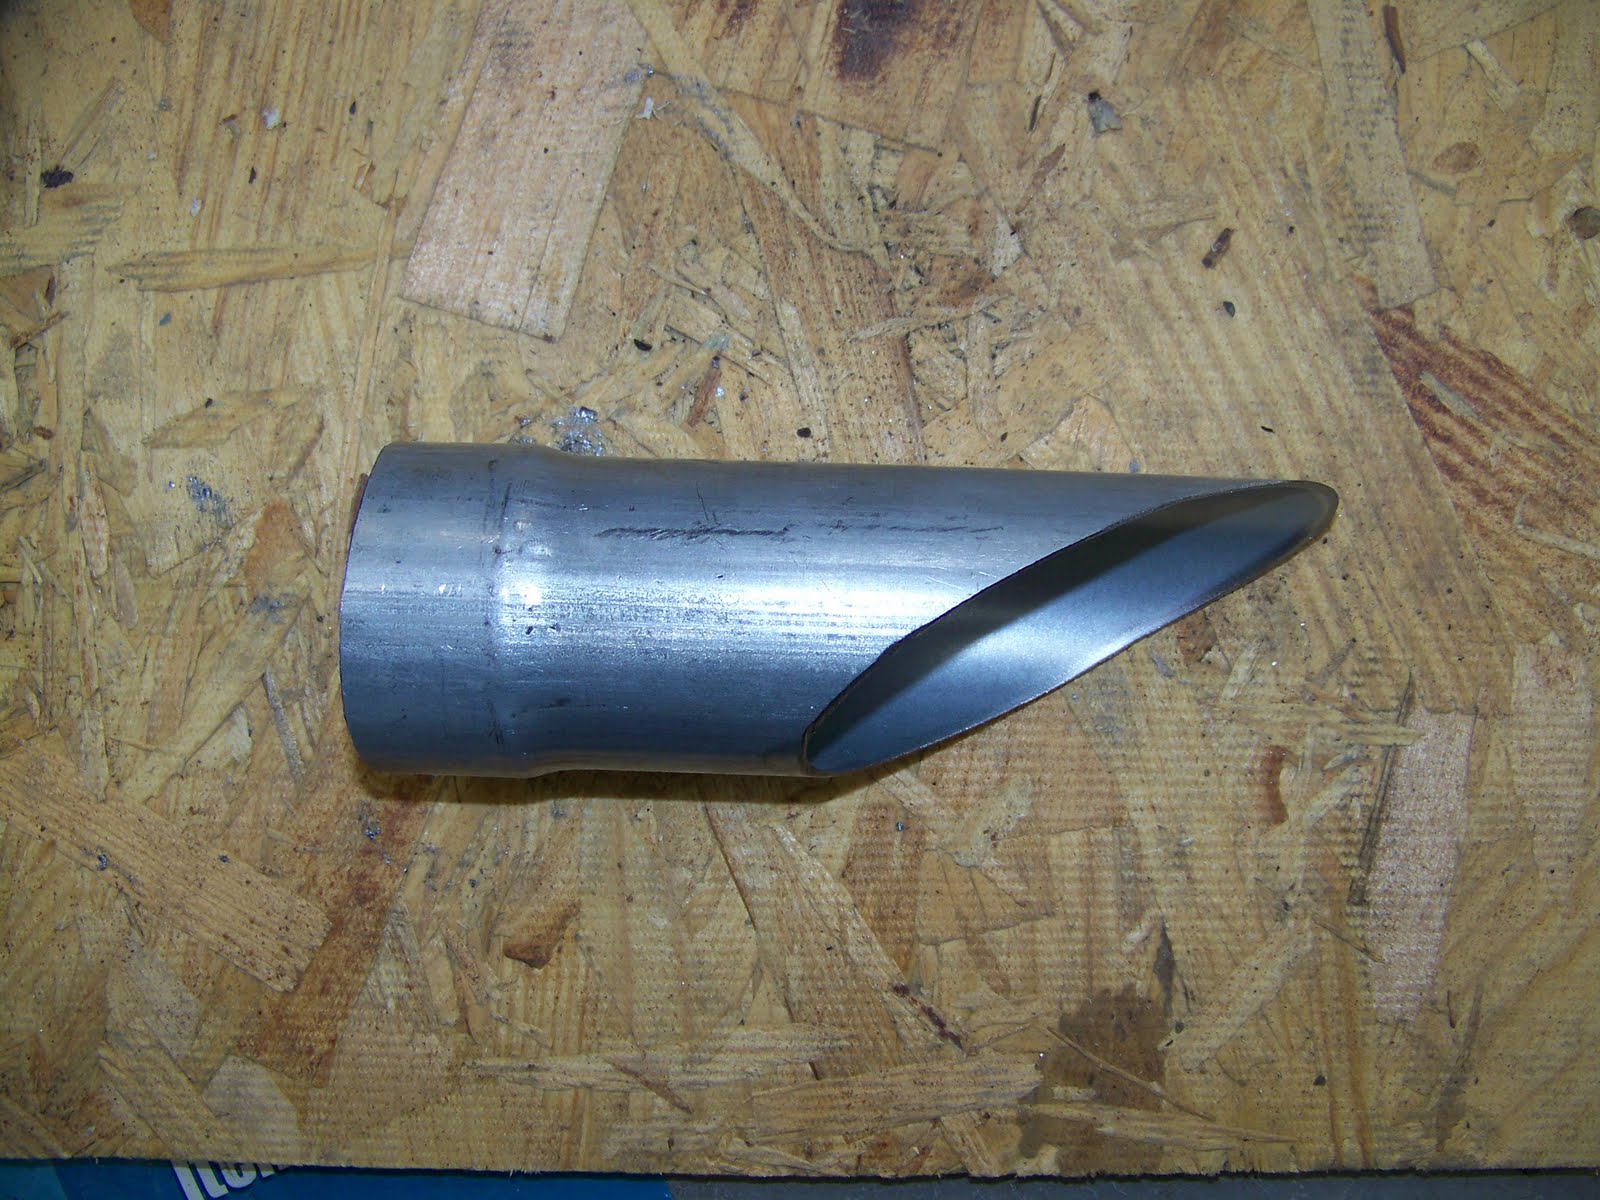
Here a test fit before welding it to the end cap. The taper on the pipe fits snuggly against the hole in the end cap.


I MIG'd the tail pipe to the end cap. This does not have to be a seal weld; exhaust will not want to sneak through a little crack when there is a 2" diameter open hole to atmosphere a couple of inches away. This shows the beauty ring over the top as well (masked for painting later), but it was not there for the welding (I just wanted to make sure it fit right).


I got a 2" OD by 24" long perforated 16 gauge stainless steel tube for $21 from Kennedy's Sport Cycle online. I cut to the right length to fit just snug in the end cap and against the inside front of the muffler body (near the inlet). It turned out to be about 17" for me, though you could cut the muffler body (and tube) shorter if you want a lighter, louder pipe. I think full length is plenty loud.


This is together with no fiberglass packing:

I bought two packages of Two Brother's re-pack fiber glass from Kennedy's as well ($18 each), though it turned out I only needed one. I didn't take an intermediate picture, but I wrapped it tightly around the perforated tube and used masking tape to hold it tight. I had to trim the ends a little and put a wrap of tape all the way around the rear edge to keep the fiberglass from "squeezing out" into the weld area.


I used two bar clamps to hold it snug and then the hose clamp to hold it centered. I then tightened the bar clamps and MIG welded it back together. It's important here that if you cut the tail piece at an angle (like I did) to make sure it it oriented properly with respect to the hanger (so that the exhaust opening is down in the end).


I think my weld is sealed, but I don't think it is absolutely necessary. Again, if there is a little crack, the exhaust gas has the choice of the nearby big hole, or a perforated tube, 1.5" of tightly packed fiberglass, and then a small crack - not much will flow and it will be covered by the beauty ring.
Grind the weld smooth so the beauty ring will fit:


Now paint. I've found that the high-heat black shown (Rust-Oleum claimed to take 2000F) works better than any other I've tried. It has held up very good on my diesel tractor exhaust. I painted the muffler, new weld, tail piece, and the black part of the beauty ring. This was for looks as well as to prevent rusting.

Now put it back on the bike and re-install the chrome, etc. in the opposite order. I weighed before and after. I was a little heavier due to the beer consumed, but the muffler was about 1.5 lb lighter.


Looks good, sounds better.Idle and low RPM are MUCH, MUCH better. Above 5K, still a little whiny - after all it is still 250!
Here's a video taken with my digital camera with the new sound.
No comments:
Post a Comment